I had a client sit down last month and say, "I want tape-ins, but my friend said hers slid out after two weeks." Before I even picked up a brush, I asked the question I always ask. Where'd she go, and did they blow-dry first?
Almost every tape-in failure story I hear traces back to one of three things: oily roots at install, too-thick sections, or a move-up appointment that got pushed past 10 weeks. The method didn't fail anyone. The execution did.
Tape-ins are one of the most comfortable extension methods I offer. They sit flat, they're lightweight, and when they're done right, you genuinely forget they're there. I'm certified in HairTalk USA and have installed hundreds of sets. Here's what I've actually learned from all of it.
What tape-ins actually are
Most people walk in knowing there's adhesive involved. The mechanics beyond that are worth understanding because they explain why a few specific things matter so much.
The weft itself
Pre-cut, pre-wefted panels
Tape-in extensions come as flat wefts, usually 1 to 1.5 inches wide, with a thin strip of medical-grade adhesive along the top. The hair is Remy, meaning the cuticles all run in the same direction. That single detail is what makes tape-ins blend and move instead of tangling up on themselves within weeks.
The sandwich bond
Two wefts, one section, no heat
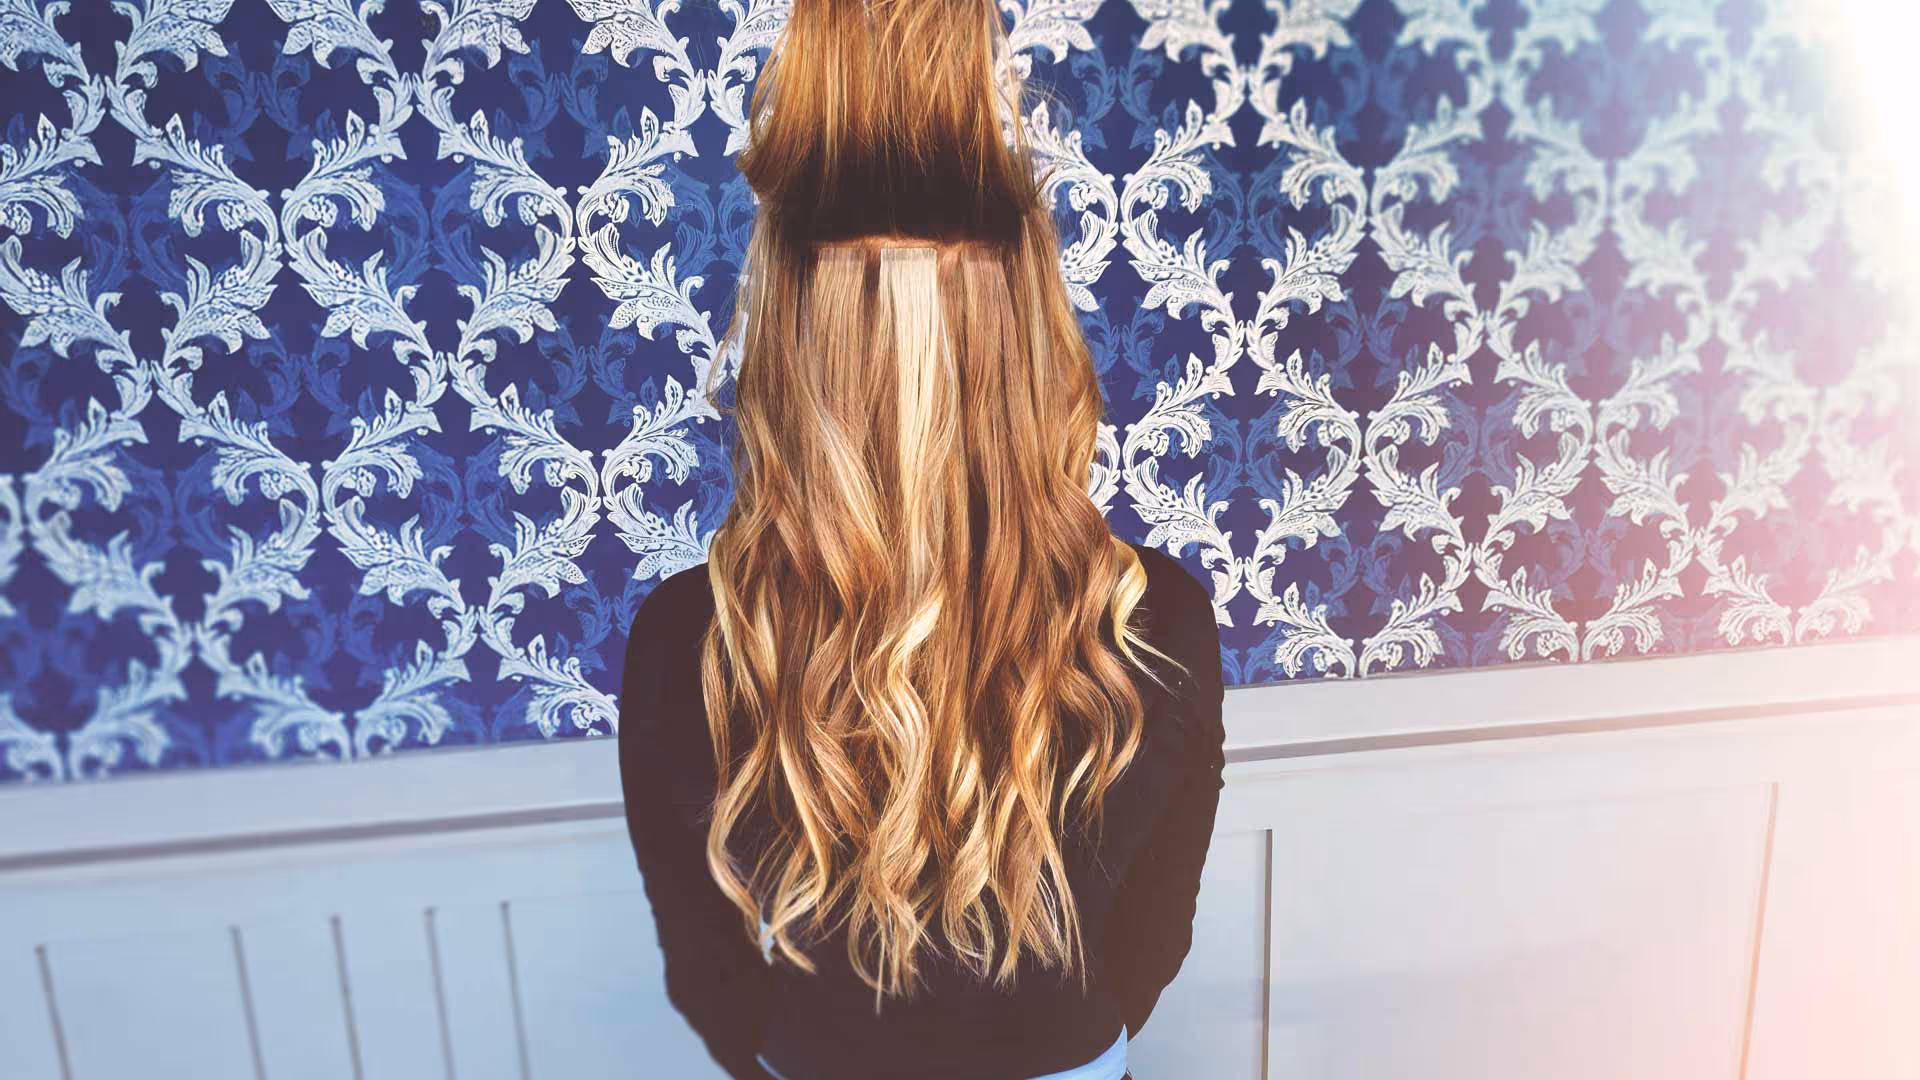
I take a thin section of your natural hair and sandwich it between two tape wefts, one above and one below. The adhesive presses together around your hair and lays completely flat against the scalp. No heat gun, no keratin melting, no chemicals. Just pressure and precise placement.
The sandwich is what makes tape-ins feel invisible. When the section is thin enough and the placement is right, you genuinely cannot find the bond by feel.
| At a glance | Tape-Ins | K-Tips |
|---|---|---|
| Install time (full head) | 1.5 to 2.5 hours | 3 to 4 hours |
| Move-up frequency | 6 to 8 weeks | 8 to 12 weeks |
| Heat at install? | No | Yes (fusion iron) |
| Can reuse the hair? | Yes, with retaping | Yes, with re-bonding |
| Fine-hair friendly | Yes, with thin sections | Yes, with micro-bonds |
| Updo-friendly | Most updos, not all | Yes |
Who tape-ins are built for
Tape-ins aren't the right call for everyone. I'd rather tell you that upfront than fit you into the wrong method and see you in two months with a problem we could have avoided.
Tape-ins work well for you if
- You want the fastest, flattest install available
- You're adding volume more than dramatic length
- You prefer no heat at the scalp
- You can commit to a 6 to 8 week move-up schedule
- You keep oil-based products away from your roots
- You want a lighter day-to-day feel than fusion
Think twice if
- You swim daily or sweat heavily at the hairline
- You use scalp oils or heavy silicone products regularly
- You want complex updos or off-the-face styles frequently
- Your natural hair is under 3 inches (not enough to sandwich)
- You can't commit to a consistent move-up schedule
The move-up schedule isn't optional. Tape-ins that grow out past 8 weeks start to flip and tangle because the bond slides off its root position. At that point removal gets harder and your natural hair takes the hit. I build a reminder into every client's aftercare instructions because I know life gets busy.
What installation actually looks like
A full install runs 1.5 to 2.5 hours depending on how much hair we're adding and your natural density. Here's how it actually goes.
We start with a thorough blow-dry on clean, product-free hair. The adhesive needs completely dry hair to bond right. I don't rush this step because the entire install depends on it.
Then I section your hair in horizontal rows starting at the nape and working up. Each section needs to be thin, maybe 1 to 1.5 inches wide and no more than a quarter inch thick. Too thick and the sandwich doesn't bond flat. Too thin and you're putting too much extension weight on too little hair.
Once placed, I press each bond firmly for 30 to 60 seconds. No heat, just even pressure to activate the adhesive. After the install, I blend and trim the extension hair to your natural shape. That finishing cut is where tape-ins go from looking like extensions to looking like your actual hair.
I've seen installs done in under an hour that technically covered the head but looked like a helmet from behind. The sectioning precision and the finishing trim are where most shortcuts happen. They're also where the result lives or dies.
Move-ups and what they actually involve
Move-up appointments happen every 6 to 8 weeks. I remove each weft, replace the adhesive tape, and reapply it higher on your natural hair as it's grown out. The hair itself gets reused as long as it's in good condition, which it usually is for 6 to 12 months with proper care.
A full move-up runs about 1.5 to 2 hours. Most clients bring a podcast or a show on their phone. A few of them fall asleep.
I had a client who pushed her move-up to 11 weeks because work got overwhelming. When she came in, about half her bonds had flipped over completely and were tangled against her roots. We got everything out cleanly because she'd kept up with her brushing routine, but removal took almost twice as long as usual. She's on a 7-week reminder now and we've never had that problem since.
Living with tape-ins day to day
The lifestyle adjustments are minimal, but a few specific things will make or break your experience.
- Can I work out with tape-ins?
- Yes, with some care. Sweat itself isn't the problem. The issue is when sweat mixes with oils at the hairline and sits there for a few days without washing. Rinse your roots within 24 hours after a heavy workout.
- Can I swim?
- Occasionally, yes. Daily lap swimming is another story. Chlorine and salt water break down adhesive faster than normal. If you're a regular swimmer, let's talk at your consultation about whether tape-ins or K-tips are the better long-term investment for how you actually live.
- What products do I need to avoid?
- Oil-based products near your roots. That means oil serums, silicone-heavy dry shampoos, and leave-in conditioners applied at the scalp. Mid-shaft to ends, use whatever you want. The bond area only needs to stay clean and oil-free.
- How do I sleep with tape-ins?
- Loose braid or low bun at the nape. A silk pillowcase helps reduce friction on the bonds overnight. Avoid sleeping with your hair completely loose for the first few days after install while the bonds are fully setting.
- Can I color with tape-ins in?
- Highlights and lowlights that avoid the bond area, yes. Full-head bleach or permanent color applied directly on the bonds weakens the adhesive and can damage the extension hair. Talk to me before you book a color appointment while wearing extensions.
The Colorado factor
A few things work against tape-in bonds up here at elevation more than they would elsewhere. Our air is drier, our water is harder in a lot of Denver suburbs, and indoor heat in winter creates a drying cycle that normal conditioner doesn't fully offset.
Hard water is the biggest culprit. Mineral buildup from Highlands Ranch, Castle Pines, and parts of Lone Tree leaves a film on the adhesive that makes bonds feel rough and sometimes causes tape to release earlier than it should. A clarifying wash once a month helps a lot. I also recommend a shower filter if you're on particularly hard water.
The mile-high dryness actually helps tape-in adhesive in one way: bonds cure faster in low humidity. But it also means your natural hair is already dealing with more moisture loss than it would at sea level. A hydrating routine from mid-shaft down isn't optional up here, it's part of making the method work long term.
My full Colorado extension care guide has product recommendations and a home care checklist specific to our climate.
Jo's honest take
Tape-ins are my go-to recommendation for clients who want a faster install, a lighter feel, and a no-heat option. They're also what I reach for when someone's nervous about fusion because they've heard horror stories. Done right, tape-ins don't hurt, don't damage, and don't announce themselves when the wind blows through the Park Meadows parking lot.
The only thing that trips people up is the schedule. Clients who stretch to 10 or 12 weeks thinking the extensions still feel fine are the ones who end up in my chair with a harder removal and some breakage at the root. If you can commit to 6 to 8 weeks, tape-ins are one of the most satisfying methods to wear. If you're someone who routinely cancels maintenance appointments, let's talk K-tips instead.
Tape-ins are right for you if
You want a fast, flat, heat-free install. You're adding volume with moderate length. You'll commit to move-ups every 6 to 8 weeks. And you keep oil-based products away from your roots.
Think twice if
You swim daily, sweat heavily at the hairline, or can't make consistent maintenance appointments. In those cases, let's talk through which method actually fits how you live.
Questions to ask before you book
- What brand of tape-in extensions do you carry?
- Ask about the hair source and whether it's 100% Remy. Some salons use mixed-grade hair that photographs fine but tangles within a few weeks. I carry HairTalk USA, which sources ethically and holds up through multiple move-ups.
- How thin are the sections you work with?
- This tells you a lot. Sections that are too thick overload your natural hair at the root. A stylist who's done this many times can walk you through exactly how they section and why.
- How do you handle removal if the bonds stick?
- Clean removal is part of the skill. A good stylist uses a bond dissolver and takes their time. If the answer sounds rushed or involves "just pull it," that's worth knowing before you commit.
- Do you recommend a patch test for the adhesive?
- Not standard for every client, but worth offering anyone with a history of skin or adhesive sensitivity. A small test tape 48 hours before a full install prevents a much bigger problem.
Frequently asked questions
How long do tape-in extensions last?
The hair itself lasts 6 to 12 months with proper care. The adhesive needs to be replaced every 6 to 8 weeks at your move-up appointment. You're reusing the same hair each time but with fresh tape.
Will tape-ins damage my natural hair?
Not when placed correctly and maintained on schedule. Damage almost always comes from overly thick sections putting too much weight on the follicle, or from bonds left in past 8 to 10 weeks and tangling at the root. Proper technique and consistent move-ups prevent both.
Can I use dry shampoo with tape-ins?
Some, yes. Look for powder-based dry shampoos without silicone or heavy oil. Apply it away from the bond area and brush it through before buildup happens. Silicone sprays and oil-based formulas directly on the adhesive are the main thing to avoid.
How many packs of tape-ins do I need?
It depends on your hair density and your goal. Most clients adding volume and moderate length need 4 to 7 packs. I assess this in your consultation and give you an exact count before we start so there are no surprises at checkout.
What's the difference between tape-ins and beaded weft extensions?
Tape-ins are small individual wefts applied in the sandwich method. Beaded wefts are longer panels secured with microbead rows. Tape-ins lay flatter and work well for finer hair. Beaded wefts add more density in fewer pieces but use a different placement technique. If you're comparing methods, my K-tip vs tape-in guide is a good place to start.
Are tape-ins right for fine or thin hair?
Yes, when the sections are right. Fine hair needs thinner individual sections so the extension weight is spread properly across your natural hair. I always assess density at the consultation and adjust the placement plan from there. My guide on extensions for thin hair goes deeper on this.
How much do tape-in extensions cost?
The full picture on pricing, including move-up costs and what affects the total over time, is in my Lone Tree extension cost guide. The short version: a full install plus the hair typically runs between $500 and $900 depending on how much we're adding and your hair density.
{"@context":"https://schema.org","@type":"FAQPage","mainEntity":[{"@type":"Question","name":"How long do tape-in extensions last?","acceptedAnswer":{"@type":"Answer","text":"The hair itself lasts 6 to 12 months with proper care. The adhesive needs to be replaced every 6 to 8 weeks at your move-up appointment. You're reusing the same hair each time but with fresh tape."}},{"@type":"Question","name":"Will tape-ins damage my natural hair?","acceptedAnswer":{"@type":"Answer","text":"Not when placed correctly and maintained on schedule. Damage almost always comes from overly thick sections putting too much weight on the follicle, or from bonds left in past 8 to 10 weeks and tangling at the root."}},{"@type":"Question","name":"Can I use dry shampoo with tape-ins?","acceptedAnswer":{"@type":"Answer","text":"Some, yes. Look for powder-based dry shampoos without silicone or heavy oil. Apply it away from the bond area and brush it through before buildup happens."}},{"@type":"Question","name":"How many packs of tape-ins do I need?","acceptedAnswer":{"@type":"Answer","text":"Most clients adding volume and moderate length need 4 to 7 packs. Exact count depends on your hair density and goal, which we determine at your consultation."}},{"@type":"Question","name":"Are tape-ins right for fine or thin hair?","acceptedAnswer":{"@type":"Answer","text":"Yes, when the sections are right. Fine hair needs thinner individual sections so the extension weight is spread properly. I always assess density at the consultation and adjust the placement plan."}},{"@type":"Question","name":"How much do tape-in extensions cost?","acceptedAnswer":{"@type":"Answer","text":"A full install plus the hair typically runs between $500 and $900 depending on how much we're adding and your hair density. The full picture on pricing is in the Lone Tree extension cost guide on the blog."}}]}