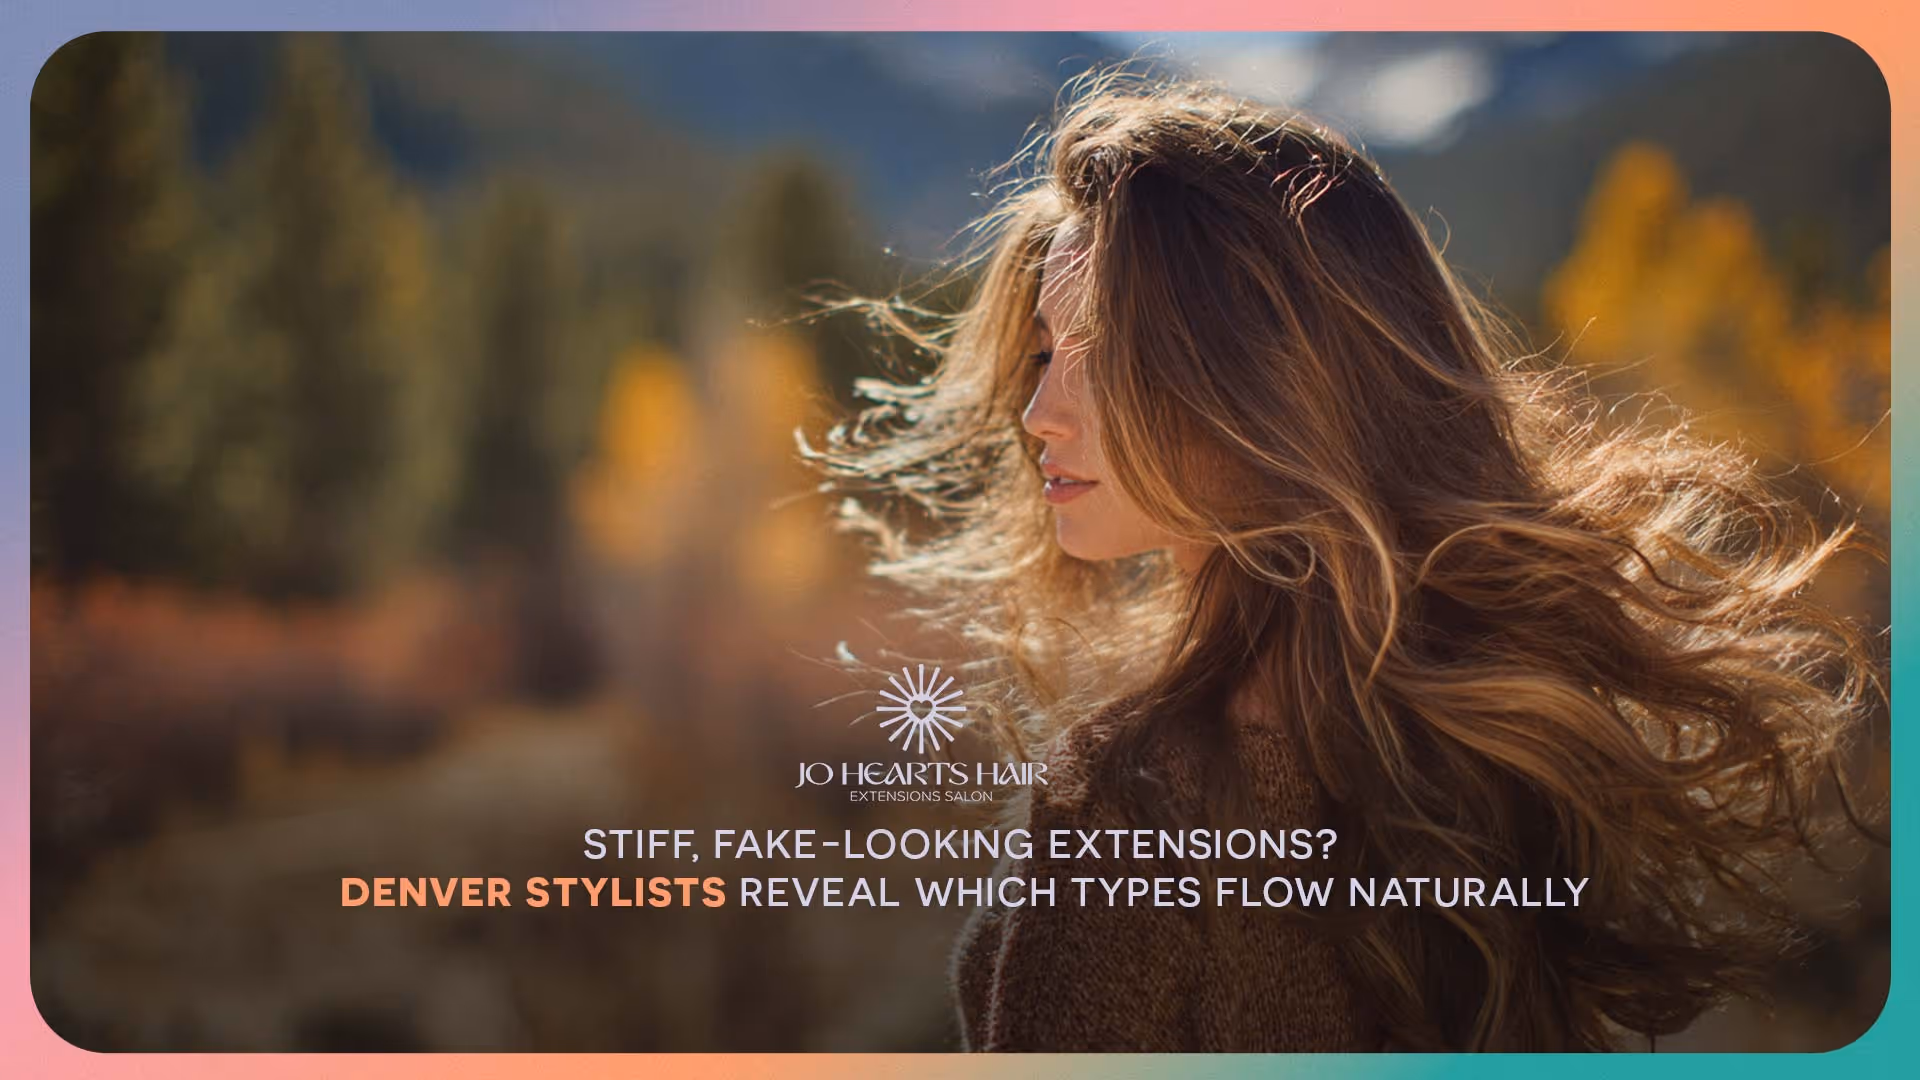
What Actually Is Balayage? The French Secret Explained
Balayage isn't just another trend that'll disappear next season - it's a timeless French technique that's been quietly revolutionizing hair color since the 1970s. The word literally means "to sweep" in French, which perfectly describes how color gets painted onto your hair in smooth, sweeping motions.
Here's what makes it completely different from those chunky highlights your mom got in the '90s: balayage mimics how the sun naturally lightens your hair. No harsh lines, no obvious regrowth, just this gorgeous sun-kissed glow that looks like you spent weeks at the beach (without the damage).

The technique was actually invented at the famous Carita salon in Paris by colorist Jacques Dessange. He wanted to create highlights that grew out beautifully without that telltale line of demarcation. Genius, right? It stayed a well-kept French secret for decades before finally making its way to the rest of the world.
What I love about balayage is how completely customizable it is. Every single application is unique because we're literally painting your hair by hand. No two balayages are exactly alike, which means your color is as individual as you are.
Why Everyone's Obsessed With Balayage (Including Me!)
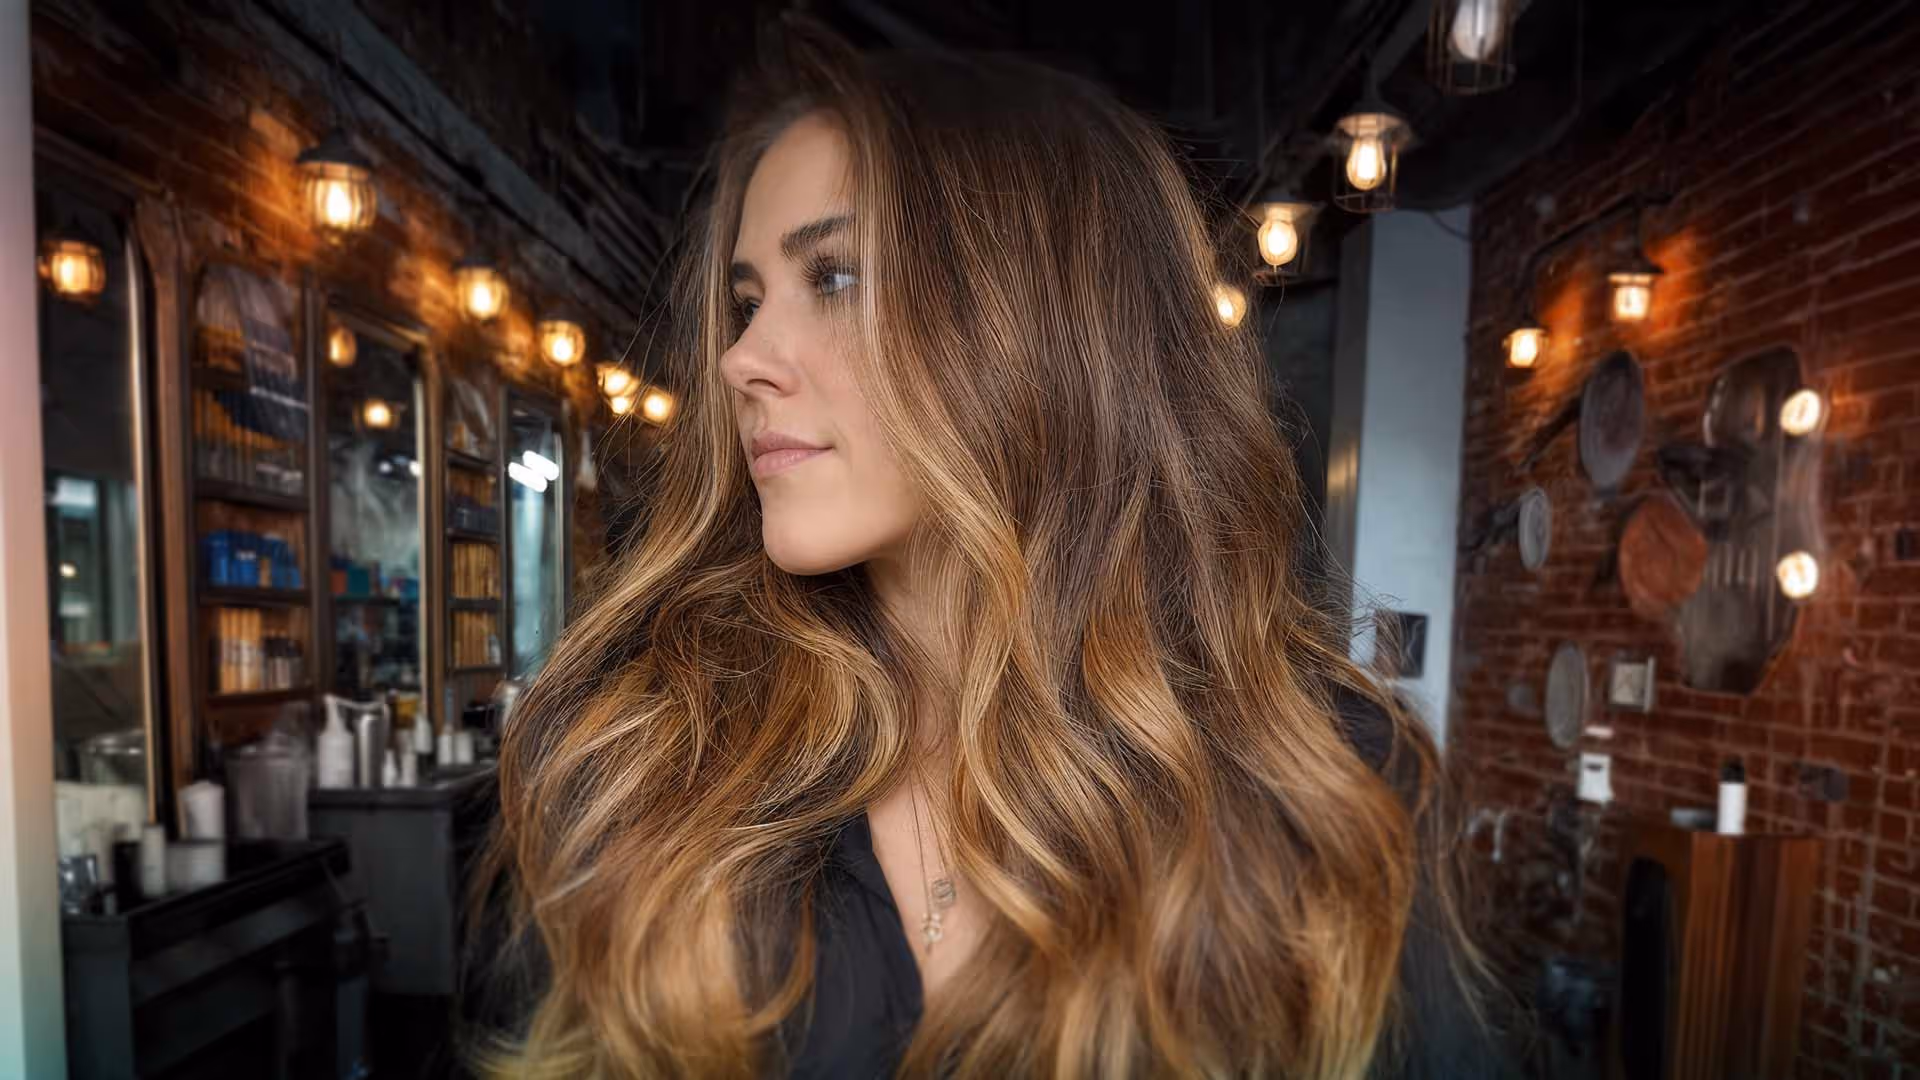
After doing extensions for years, I can tell you that balayage has completely changed how we approach hair color. Clients love it because it gives them that effortless, natural look without the high maintenance of traditional highlights.
The grow-out is insane. With regular highlights, you're back in my chair every 6-8 weeks because that root line is screaming for attention. But balayage? Most of my clients go 3-4 months between appointments, and some even push it to 5 months during busy seasons.

Your hair actually looks better as it grows out - which sounds crazy but it's true! The color develops more depth and dimension over time because those painted pieces blend so naturally with your base color.
From a hair health perspective, balayage is way gentler than traditional highlighting. We're not saturating every strand with bleach or applying heat from foils directly to your scalp. Most of your hair remains untouched, especially around the root area where your hair is healthiest.
The versatility is what really gets me excited though. I've done subtle balayage on professional women who need conservative color for work, and dramatic transformations on clients who want that beachy goddess vibe. It literally works on everyone - brunettes, blondes, redheads, even people with gray hair who want to blend it beautifully.
Balayage vs Everything Else (Let's Clear This Up!)
People get super confused about the difference between balayage, ombré, and traditional highlights. I get asked about this literally every day, so let me break it down:
Balayage is a technique - it's HOW we apply the color. We hand-paint it on without foils, creating soft, natural-looking highlights that are thicker at the ends and more subtle near the roots.
Ombré is a style - it's the dramatic dark-to-light fade you see on Pinterest. You can create ombré using balayage technique, but not all balayage is ombré.

Traditional highlights use foils or caps to create uniform, all-over lightness from root to tip. They're more structured and create that obvious regrowth line we're trying to avoid.
Foilyage (yes, that's a real term!) combines both techniques - we might hand-paint some sections and use foils on others for maximum lift in specific areas.
The technique I choose depends entirely on what you want to achieve. Want subtle, natural-looking dimension? Classic balayage. Need dramatic lightening for a major transformation? We might incorporate some foils. Want that Instagram ombré look? Balayage technique with heavier saturation toward the ends.
The Balayage Process: What Really Happens During Your Appointment
I always tell clients to block out 2.5-3 hours for balayage because we're creating art, not just applying color. Here's exactly what happens during your appointment:
Consultation Phase (20 minutes)
This is where the magic starts. We're not just talking about what color you want - I'm assessing your hair's history, condition, and natural undertones. I need to know every chemical service you've had, how often you wash your hair, and whether you heat style daily.
I'm also looking at your skin tone, eye color, and lifestyle. Are you someone who styles their hair every day or more of a wash-and-go person? Do you work in a conservative environment or can you rock something bold? All of this affects our color plan.

Sectioning and Prep (15 minutes)
I section your hair based on your haircut and where we want the color to live. Unlike traditional highlights where sections are uniform, balayage sections follow the natural fall of your hair and your haircut's layers.
Sometimes I'll backcomb sections slightly to create a more diffused blend near the roots. This prevents harsh lines and creates that seamless grow-out balayage is famous for.
The Hand-Painting (45-90 minutes)
This is where my artistic training really comes into play. I'm mixing lightener specifically for your hair's level and condition, then painting it on with various brush sizes to create different effects.
The application starts lighter near your roots and gets heavier through the mid-lengths and ends. I might use a paddle board to support sections or apply color freehand for softer lines. Every stroke is intentional and customized to your hair's natural patterns.
Processing Time (25-45 minutes)
While your hair processes, I'm checking it every 10-15 minutes to see how it's lifting. Hair lightens differently based on its porosity, previous color treatments, and natural pigment levels. I'm looking for that perfect golden stage before we rinse.
Toning and Conditioning (20-30 minutes)
After rinsing the lightener, I apply toner to perfect your shade. This is where we eliminate any unwanted yellow or orange tones and create that beautiful, dimensional finish. I always follow with a deep conditioning treatment because lightened hair needs extra moisture.
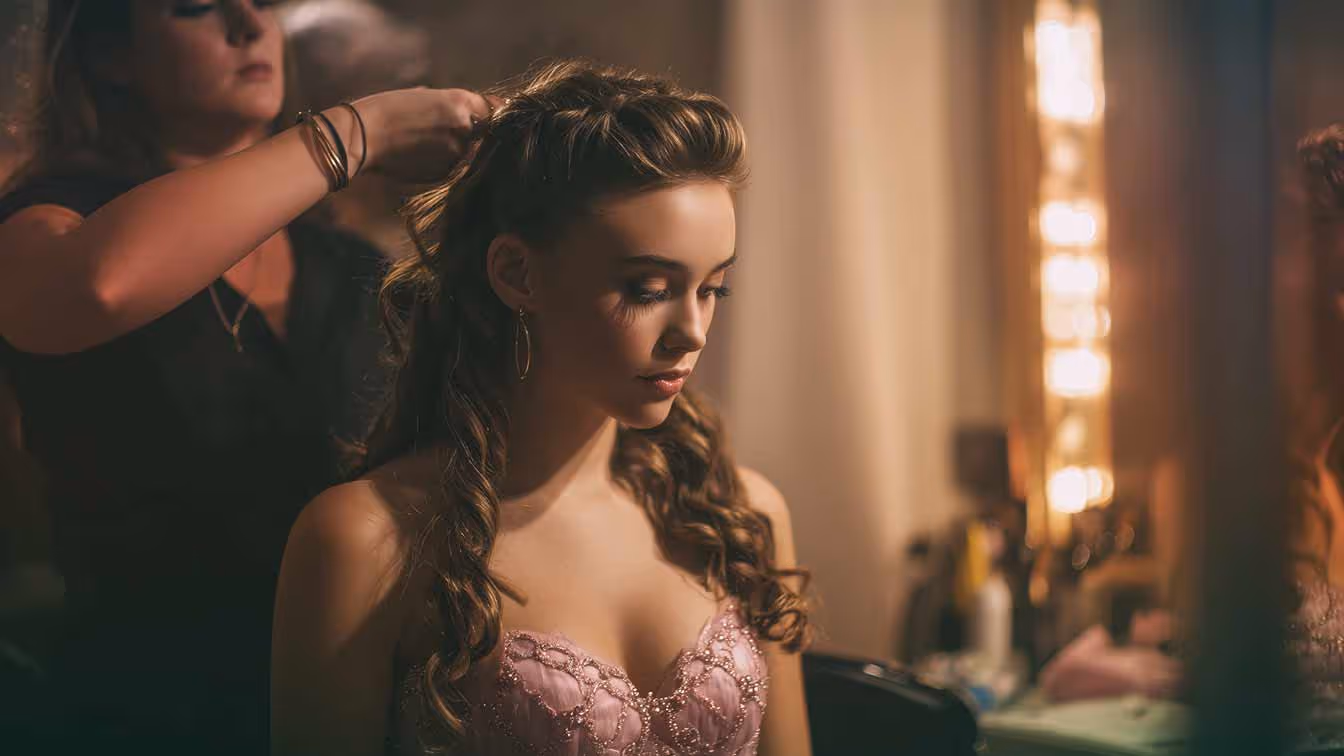
Balayage + Extensions = Hair Heaven
This is where my expertise really shines! Combining balayage with hair extensions creates the most incredible, natural-looking results. The dimension from balayage helps extensions blend seamlessly, while extensions give you the length to really showcase the color gradient.
I actually recommend getting balayage first, then matching your extensions to your new color. This way, I can create custom-colored extension pieces that perfectly complement your highlights. It's like having a completely personalized hair color palette.

Extension-Specific Balayage Techniques:
Tape-in Extensions work beautifully with balayage, but there are specific considerations. The adhesive is sensitive to high-volume bleach, so I never go beyond Level 8 blonde on tape-ins to prevent the bonds from failing. For dramatic lightening, I'll remove the tapes, color-treat them separately, then reinstall with fresh adhesive.
Clip-in Extensions are perfect for balayage because you can remove them during the coloring process, protecting the clips entirely. I often custom-color clip-ins to match your new balayage perfectly, creating seamless blend-ability.
K-tip Extensions work amazingly because we can place individual strands strategically to enhance your highlights. Since they're 100% human hair without adhesive strips, they can handle gentle lightening processes when done professionally.
Sew-in Weft Extensions blend beautifully with balayage since there's no tape or adhesive to worry about. The sewn-in method allows for precise color placement that continues your natural balayage pattern.
Color Matching Mastery:
Getting extensions to blend with balayage requires precision. I use a three-step matching process:
- Base Color Assessment - I identify your natural root color and undertones (warm golden vs. cool ash) using color swatches in natural daylight
- Gradient Mapping - Extensions need to mirror your balayage gradient, so I often use 2-3 different extension shades to create that natural multi-tonal effect
- Custom Toning - I may lightly tone extensions with demi-permanent color to perfectly match your highlighted ends
Many brands now offer pre-colored "balayage" extension sets with darker roots and lighter ends, but nothing beats custom color-matching for truly seamless results.
Maintaining Your Balayage (It's Easier Than You Think!)
One of the biggest reasons people love balayage is the low maintenance, but that doesn't mean zero maintenance. Here's how to keep your color looking fresh between appointments, especially when you have extensions:
Wash Less, Love More
I tell all my balayage clients to wash their hair 2-3 times per week max. Over-washing fades color faster and strips your hair of natural oils. Dry shampoo becomes your best friend - it extends your style and actually makes balayage look better by adding texture.
Sulfate-Free Everything
This isn't negotiable, especially with extensions. Sulfates strip color like crazy and can dry out extension fibers that don't get natural scalp oils. Invest in quality sulfate-free shampoo and conditioner designed for color-treated hair. I recommend Pureology Hydrate or Moroccanoil Color Care for their gentle, pH-balanced formulas.

Weekly Deep Conditioning
Lightened hair needs extra love, and extensions need even more. Once a week, use a deep conditioning mask or hair oil treatment. I recommend focusing on your mid-lengths and ends where the color is. Products like Olaplex No.3 or K18 Repair Mask rebuild bonds in bleached hair while keeping extensions supple.
Purple Shampoo for Blondes (Use Correctly!)
If your balayage has blonde tones, purple shampoo once a week keeps those highlights looking fresh. Use products like Olaplex No.4P or Fanola Violet Shampoo, but don't overuse - once a week is plenty, and too much can give you a purple tint.
Heat Protection Always
Your balayaged hair is more porous than virgin hair, which means it's more susceptible to heat damage. Always use heat protectant before styling, and try to keep your tools under 350°F. Look for products with UV filters too - sun exposure can fade your color.
Extension-Specific Care:
- Brush with a loop or boar-bristle brush to avoid tugging wefts
- Sleep with hair in a loose braid or silk scarf to prevent matting
- Never pile wet extensions on top of your head - gently squeeze out water and air dry when possible
- Avoid getting conditioner on tape-in bonds as it can weaken the adhesive
Bond-Building Treatments
Since balayage involves bleaching, regular bond-repair treatments are crucial. I use Olaplex treatments during the coloring process, and clients continue with at-home treatments to maintain hair strength. Extensions especially benefit from these protein treatments since they can't repair themselves like natural hair.
Who Should Get Balayage? (Spoiler: Almost Everyone!)
I've done balayage on literally every hair type, color, and length you can imagine. Here's who makes the best candidates:
Hair Length Considerations
Balayage looks most dramatic on medium to long hair because you have more canvas to work with. But don't count out shorter styles! I've done gorgeous balayage on bobs and even long pixie cuts. The key is adjusting the placement to work with your haircut.

Natural Hair Color
This might surprise you, but some of my most stunning balayage results are on brunettes and redheads. The contrast between dark base colors and lighter highlights is absolutely gorgeous. Even black hair can be balayaged beautifully with rich caramel or mahogany tones.
Hair Texture and Type
Straight hair, wavy hair, curly hair - balayage works on all textures. Curly hair actually showcases balayage beautifully because the color catches the light differently as your curls move. Fine hair benefits from the illusion of thickness that dimensional color creates.
Lifestyle Factors
Balayage is perfect for busy people who want beautiful hair without constant salon visits. It's also great for hair color newbies who want to start with something subtle. And if you're growing out a previous color or going gray, balayage helps blend everything together naturally.
The Investment: What Balayage Actually Costs
Let's talk numbers because I believe in transparency. Professional balayage typically ranges from $180-300, depending on several factors:
What Affects the Price
- Length and thickness of your hair (more hair = more time and product)
- Complexity of the color change (dramatic transformations take longer)
- Your stylist's experience level and location
- Additional services like cuts, treatments, or toning

Why It's Worth the Investment
When you break down the cost per month, balayage is often more economical than traditional highlights. If you're touching up traditional highlights every 6 weeks at $120, that's $960 per year. Balayage touch-ups every 4 months at $200 equals $600 per year.
Plus, you're investing in the health of your hair. Quality balayage done by an experienced colorist minimizes damage and keeps your hair looking gorgeous longer.
At Jo Hearts Hair, I provide detailed pricing during consultation so there are never any surprises. Your investment includes the initial color, toning, conditioning treatment, and detailed aftercare instructions.
Common Balayage Mistakes to Avoid (Especially With Extensions!)
Let me save you from some expensive mistakes I've seen over the years:
Over-Bleaching Extensions
This is the big one! Extensions are more delicate than your natural hair. For tape-ins especially, never use high-volume bleach or you'll literally melt the adhesive. I limit tape-in lightening to Level 8 blonde maximum and only do it once. Hand-tied and clip-in extensions shouldn't be bleached beyond one level difference - over-porous extension hair will break or burn.
Skipping the Strand Test
I always test color on a small piece first, especially with extensions. Extensions and natural hair can react completely differently to the same formula. What looks perfect on your natural hair might turn orange or ashy on extensions.
Wrong Shade Selection
The biggest mistake is choosing tones that clash with your natural undertones. Balayage should enhance your existing color, not fight against it. I see people chase trendy ice-white platinum when their natural tones are warm - it never looks natural.

Poor Aftercare Products
Using regular drugstore shampoo with sulfates will fade your balayage in weeks. With extensions, it's even worse - cheap products with silicones or salts dry out the fibers and cause tangling. Always invest in professional color-safe products.
DIY Disasters
Balayage looks effortless but requires serious skill. I've fixed so many DIY attempts that turned out stripy, uneven, or over-processed. With extensions involved, DIY becomes even riskier - you could damage expensive extension bonds or create obvious color lines.
Neglecting Extension Bonds
Getting conditioner on tape-in bonds weakens the adhesive. Sleeping with wet extensions causes matting. Not brushing properly can pull out wefts. Extensions require specific care techniques that many people don't know.
Color Matching Mistakes
The most common error is trying to match extensions to just one tone instead of creating a gradient. Real balayage has multiple tones, so your extensions should too. Using just one extension shade makes the color look flat and obvious.
Advanced Balayage Techniques for Different Goals
Not all balayage is created equal. Here are some specialized approaches I use for specific results:
Face-Framing Balayage
Perfect for first-timers or conservative workplaces. We focus highlights around your face for a brightening effect while keeping the back more natural.
Root Smudging/Shadow Root
This technique involves applying a slightly darker tone at your roots before balayage. It creates even more seamless grow-out and adds extra dimension.
Babylights Balayage
Super fine, delicate highlights painted throughout for the most natural, sun-kissed effect. This technique takes longer but creates incredibly soft, dimensional color.
Reverse Balayage
Adding darker lowlights throughout balayaged hair to create more depth and dimension. Perfect for clients who want to tone down overly light previous balayage.
Seasonal Balayage Considerations
Your balayage can evolve with the seasons:
Spring/Summer Balayage
Brighter, more golden tones that complement tanned skin and capture that sunny, beachy vibe. We might add more blonde pieces or warm up existing highlights.
Fall/Winter Balayage
Richer, deeper tones like caramel, toffee, or mahogany that complement cooler weather wardrobes. We might tone down bright summer highlights for a more sophisticated look.

The beauty of balayage is that these seasonal adjustments are usually just toning appointments, not complete recoloring. This keeps your hair healthier while keeping your look fresh and current.
Frequently Asked Questions
Will balayage damage my hair more than regular highlights?
Actually, balayage is typically less damaging than traditional foil highlights. Since we're not applying bleach to every strand and avoiding the scalp area, most of your hair remains untouched. However, any lightening process involves some level of damage, which is why proper aftercare and using quality products is crucial.
Can I get balayage if I already have extensions?
Absolutely! But planning is key. If you have clip-ins, I can remove them during coloring. For tape-ins or weft extensions, I work carefully around the bonds using lower-volume bleach. The key is ensuring your extensions are 100% Remy human hair - synthetic extensions won't take color and can be damaged by chemicals.
Will balayage ruin my extensions?
Only if done improperly. Over-bleaching can damage extensions, and high heat can cause tape-in adhesives to fail. That's why I often recommend pre-colored extensions or gentle toning rather than aggressive lightening. Remember, extension damage is permanent since they can't repair themselves like natural hair.
How long does balayage take to process during the appointment?
The actual processing time varies from 25-45 minutes depending on your hair's natural level and desired result. The entire appointment takes 2.5-3 hours including consultation, application, processing, toning, and styling.
How do I match extension colors to my new balayage?
I use a systematic approach: first matching your root color and undertones, then selecting extension shades that mirror your balayage gradient. I often use 2-3 different extension shades and may custom-tone them to create the perfect blend. Many brands offer pre-colored "balayage" extension sets, but custom matching always looks more natural.
How often do balayage and extensions need maintenance?
Balayage typically needs refreshing every 3-4 months, but extensions need repositioning every 6-8 weeks as your natural hair grows. The beauty is that these timelines don't always coincide, so you're not always in the salon chair.
Is it better to get balayage before or after getting extensions?
I almost always recommend balayage first, then custom-matching extensions to your new color. This gives us the most control over the final result and ensures seamless blending.
Can you do balayage on all extension types?
Yes, but techniques vary. Clip-ins can be removed and colored separately. Tape-ins require careful application to avoid melting adhesive. Hand-tied wefts and K-tips can usually handle gentle lightening since they don't have sensitive adhesives. I assess each case individually to determine the safest approach.
Ready for Your Perfect Balayage?
Remember, everyone's hair journey is unique! What works for one person might need tweaking for another, and that's completely normal. The key is finding a colorist who understands your hair's history, your lifestyle, and your goals.
Want personalized balayage advice that works with your hair type and lifestyle? Stop by Jo Hearts Hair in Lone Tree, and let's create your perfect sun-kissed color together!
Located at: 9227 East Lincoln Ave, Suite #111, Lone Tree, CO 80124
Follow @joheartshair for daily inspiration and behind-the-scenes peeks at stunning balayage transformations! ✨
Here's to gorgeous, dimensional hair that grows out beautifully,
XOXO,
Jo 💕